Modelling and Texturing
Development Process in Maya
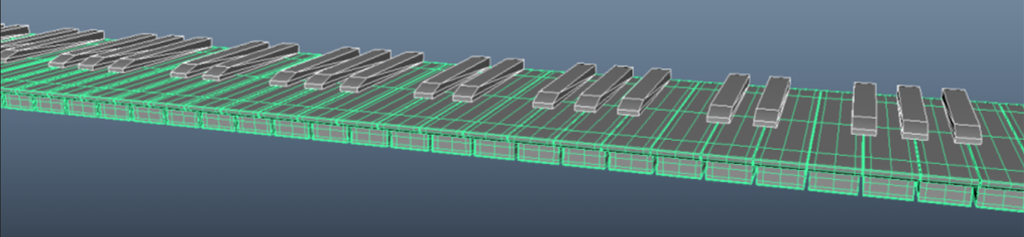
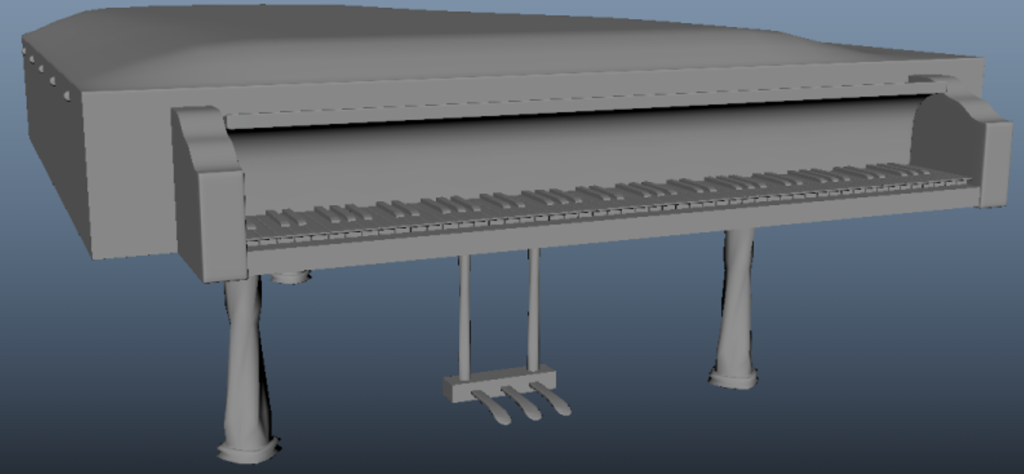
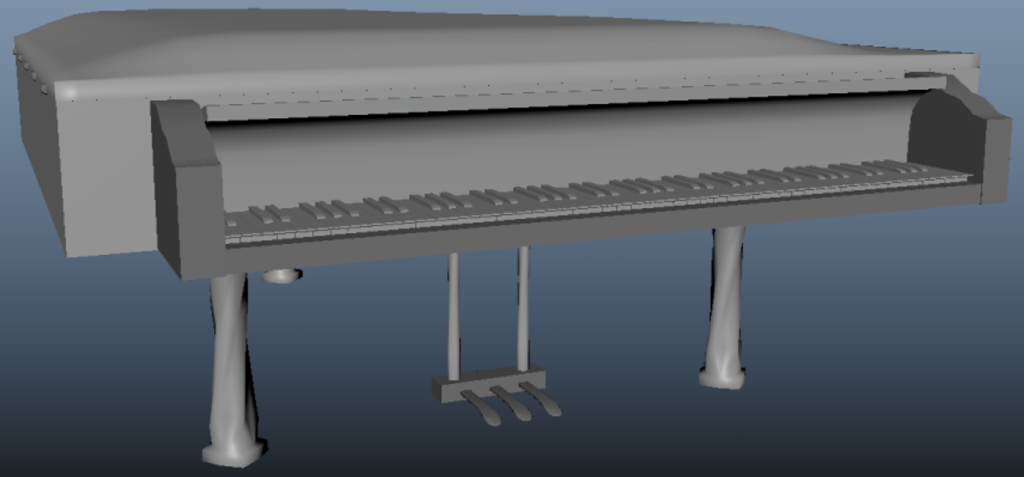
I had researched how to model a grand piano as I did not know where to begin (Mike Hermes, 2015). I started with the keys and researched how many white keys and black keys a piano has, as I wanted the piano to be accurate. Creating a cube and then extruding the edges and creating edge loops. Then duplicating each key to match where each one should be.
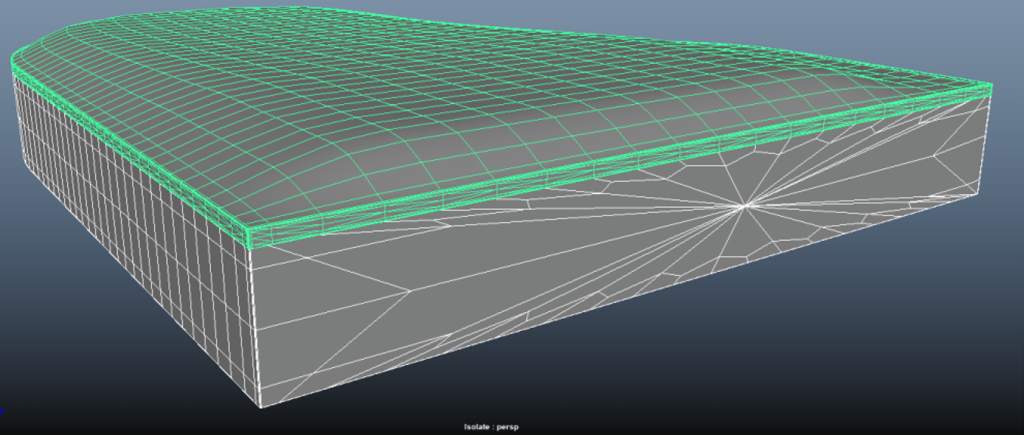
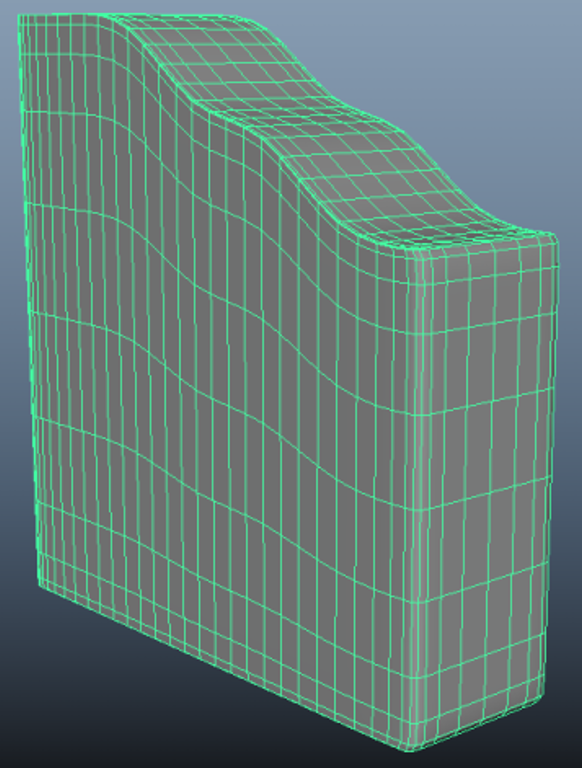
Next, I created the main body. I created a cube and flattened and scaled it up. I sub divided the base to allow me to manipulate the shape of the body. I did this by looking through the top camera and moving the vertices. I inserted edge loops which I could then extrude to be the sides of the piano. I then duplicated the base and used this as the lid. I had to flatten the base and then sub divide the object. Which allowed me to select the faces I wanted to rise out from the body.
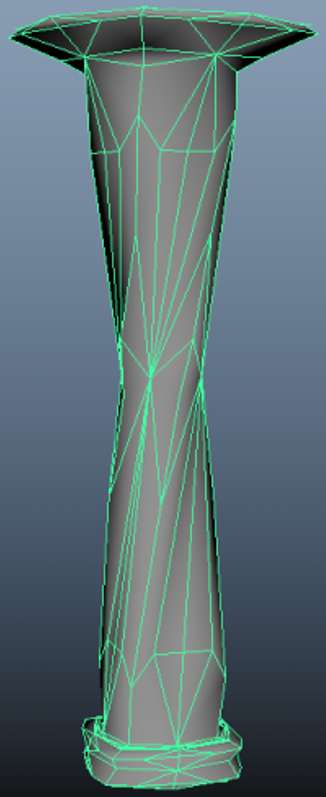
The first piano legs I created were straight, as I wanted to find the shape which looked suitable for the piano. I created a cube, which I had extruded multiple times. Then I set out to find the unique shape of the legs. By doing this I went into the Deform > Nonlinear > Twist, and then duplicated the legs and positioned them under the piano.
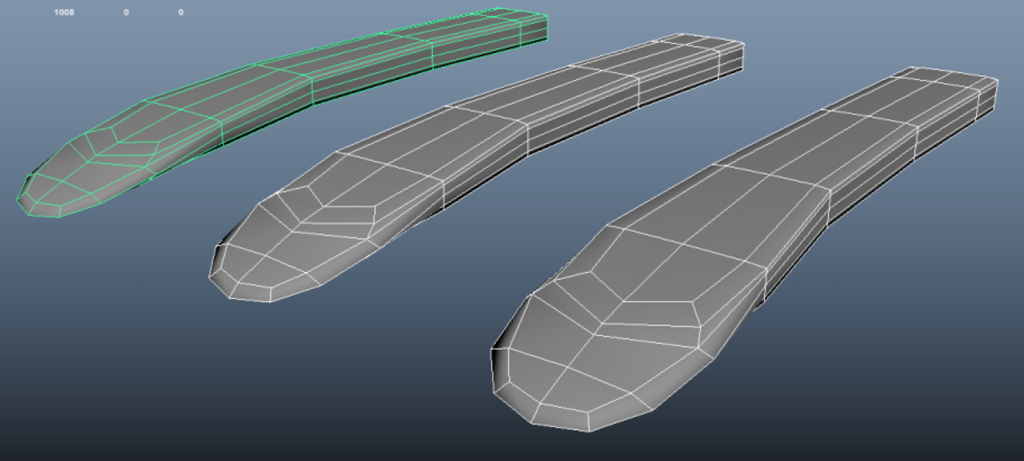
Similarly, to the legs the supports for the pedal box also included a twist. These supports were cylinders. The pedal box was a simple cube with edge loops to maintain the shape when smoothed. The pedals were created with a cube, which was flattened and extended to be shaped like a pedal. One face was extruded which would be slightly bending down from the main body of the pedal, and then widened. Edge loops were then added.
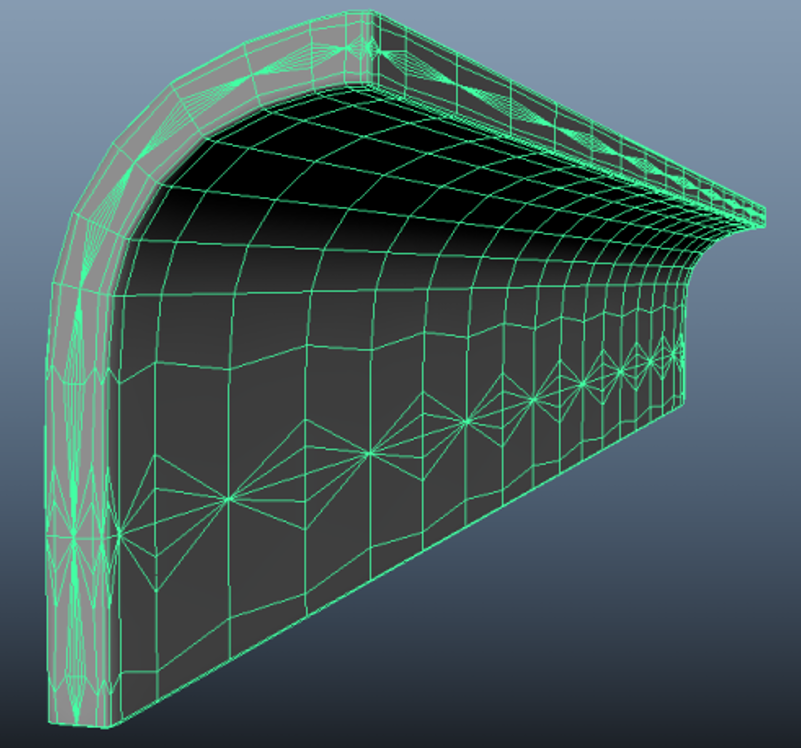
Next were the side boards. These were created from a cube and then scaled up and widened. To create the slope of the side boards, I had inserted subdivisions on the objects and then moved the vertices down slightly. Which then smoothed, would give the slope a soft look. Beneath the keys was a simple cube but scaled to cover the sides beneath the keys.
The cover was difficult to create. I had created a shape similar to the bottom of the keys. However, I had to bend a portion of the object to look like a keyboard cover. I had found that using subdivisions and being able to manipulate where the twist of an object can be, this would then allow me to bend a portion of the object.
With all of the parts of the piano finished, I had then finished my high poly model. I had then smoothed each individual object, to complete my high poly model. I then created my low poly model, which was much simpler than the high poly model. The next step was to unwrap the low poly model.
UV Unwrapping
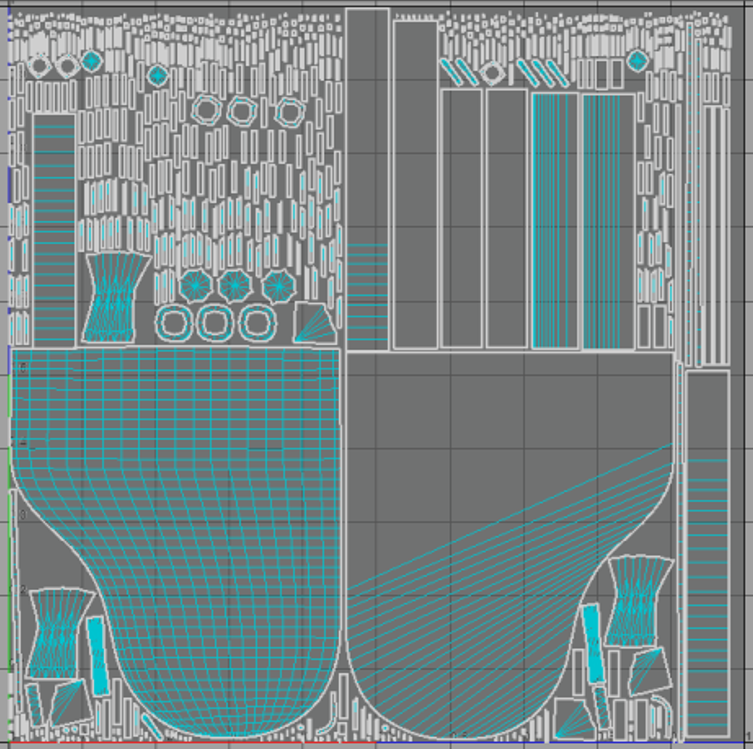
The Unwrapping of the low poly model was simple enough since a majority of the shapes were easy to unwrap. I had assigned 5 different materials to the objects to allow them to have a better resolution than other objects. However, the most complex UVs I had to unwrap were the legs. The legs were deformed and twisted, which meant that they were stretched when the UVs were unfolded. I was assisted in unstretching the legs, as I was unaware that there was a view to see stretching on UVs. I had to insert a cut along the middle of the legs which allowed me to unwrap the UV without any stretching. Additionally, there was a tiny bit of stretching on the side boards of the piano. This was fixed by simply unfolding a face of the object.
Baking Process
I underwent the baking process multiple times, as the first few times showed errors. One baking process showed an error which I found out that my model included ngons. I then fixed these ngons using the cleanup tool in Maya. Another baking process showed an illusion on the normal map of the side boards. This was then fixed in Maya, as I had created an instance of the object, instead of duplicating the object using Ctrl + D.
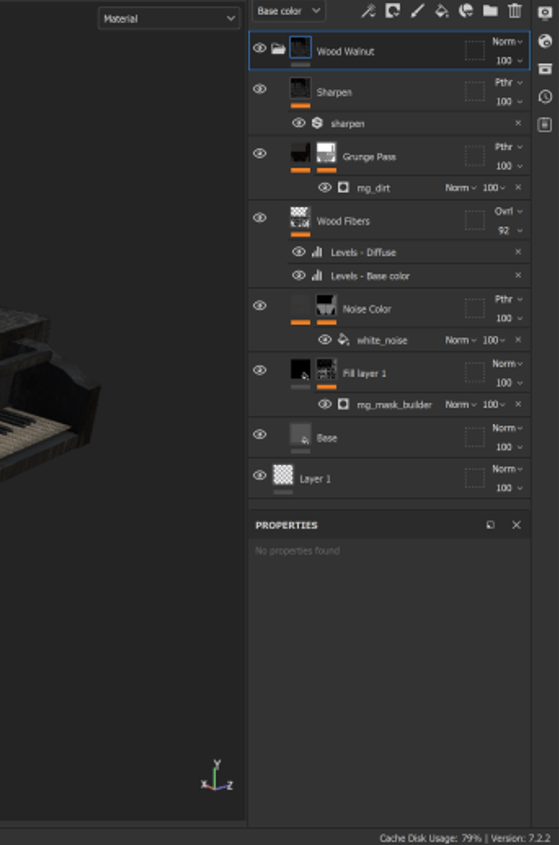
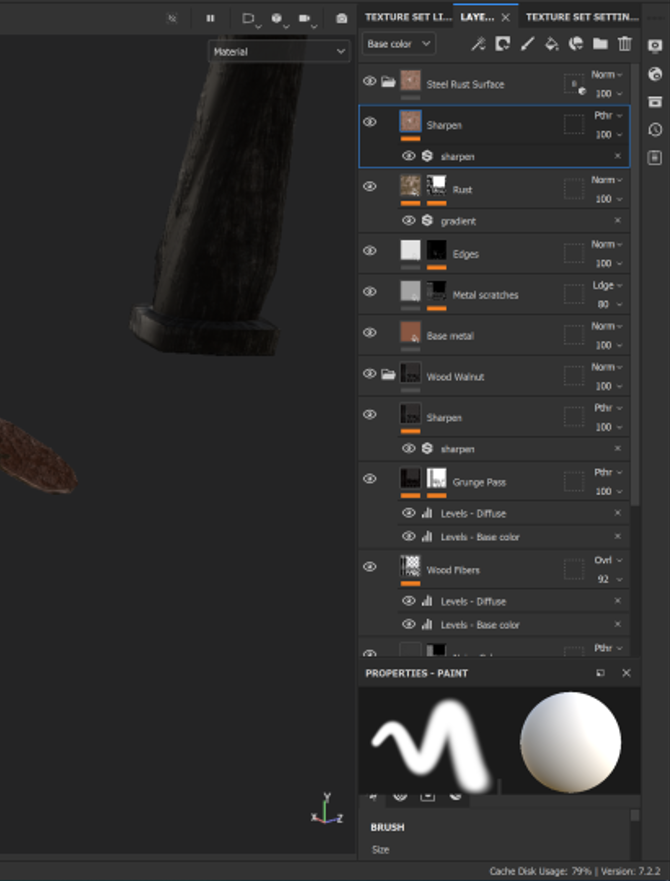
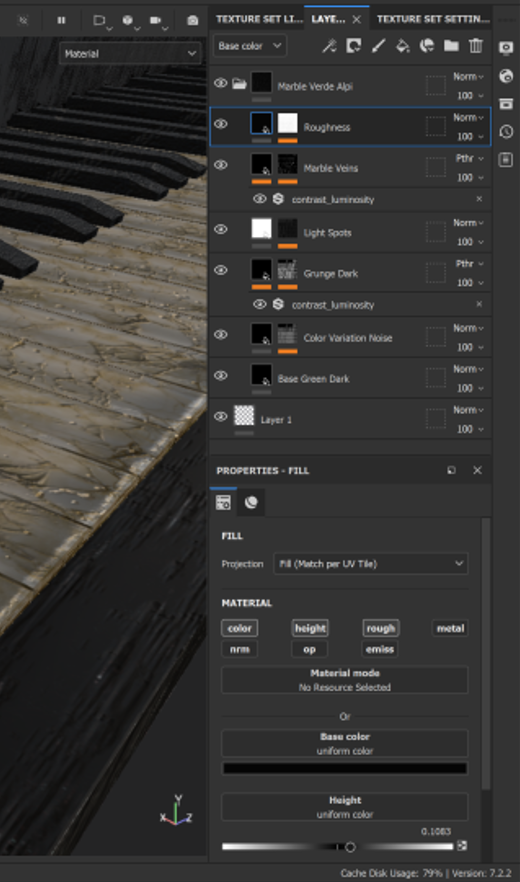
Development Process in Substance Painter
In Substance Painter I had found materials and smart materials, which I could then manipulate and experiment with to find the texture I wanted. I had decided to have the same texture for the skin of the piano and different textures for the keys, pedals and hinges. The main texture of the piano was Wood. With the keys both having a Marble texture, and the pedals and hinges both having a Steel Rust texture. I also modified the ‘height’, ‘rough’ and ‘metal’ values of each material, to find the texture which suited the asset.
Technical Issues
When my model was ready for baking, I then carried out the baking process, unaware that my model included ngons. I had to research how to fix this issue and found that a simple way was to use the cleanup tool in Maya. This tool allowed me to select objects and remove the ngons, by selecting the ‘Faces with more than 4 sides’ option.
I was unaware that there was an additional view in the UV editor to see stretching on UV Shells. This view made it easy to see shells that were stretched on the legs of the piano. I then underwent cleaning the vertices and faces of the object to unstretch the UV shell.
References
Mike Hermes (2015) Maya tutorial : How to model a Grand Piano [Video]. Available online: https://www.youtube.com/watch?v=gc2wqUhD8Lw&ab_channel=MikeHermes [Accessed 4/4/2022].
Leave a Reply