Creation of VFX
Created VFX
From the beginning, I knew what types of VFX I wanted. I had to undergo the process of finding out how to create these VFX, and then experiment to fine tune them to my vision. The list of the VFX included in my scene are:
- Muzzle Flash
- Blood Splatter
- Car Explosion
- Grenade Explosion
- Smoke
- Car Tyre Smoke
Muzzle Flash
I researched how to create a muzzle flash, and then once I was confident enough, I created my own version from further experimentation, and making it look realistic. Since I had rifles and pistols in my sequence, I had to create user parameters for different weapons. Parameters including, Colour, Colour Boost, Delay, Power and Width. These allowed me to change how the muzzle flash appeared from different weapons. Therefore, the pistol muzzle flash needed to have less power and more delay than the rifle muzzle flash, in order to appear more realistic.
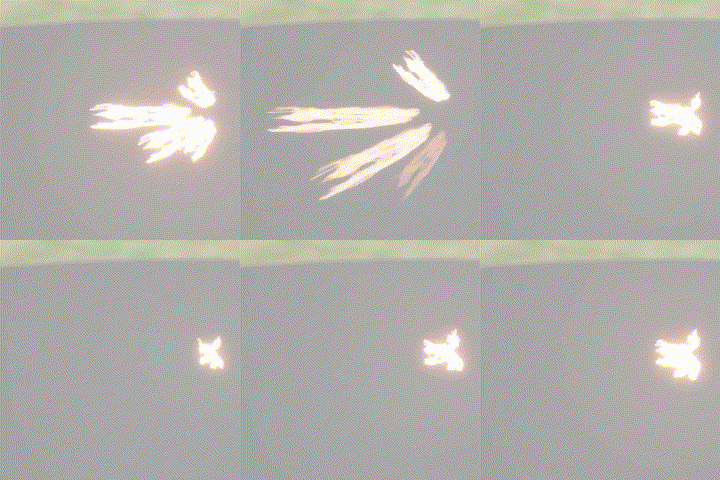
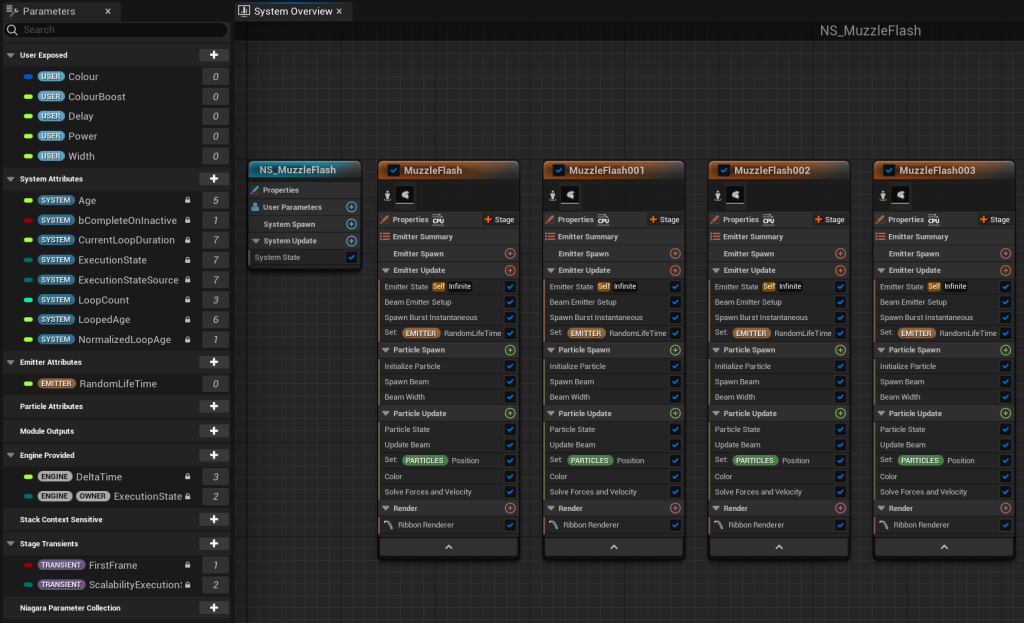
Each emitter controls the direction of the flash from the gun. Since I have four emitters, there are four flashes in each direction. I experimented with the modules, and created a muzzle flash which I was happy with.
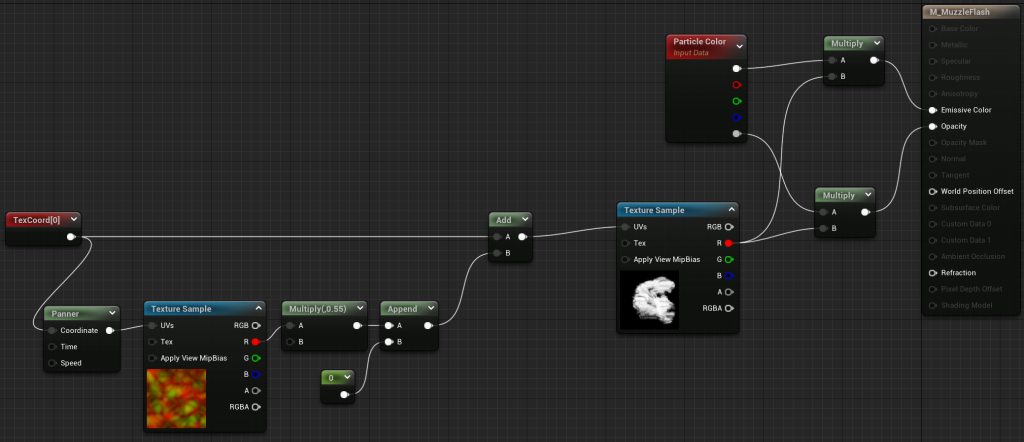
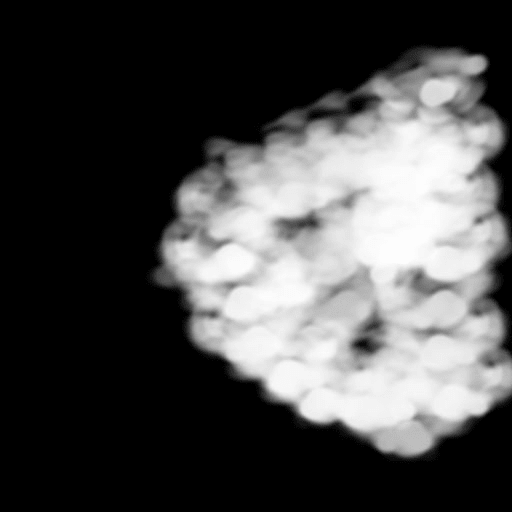
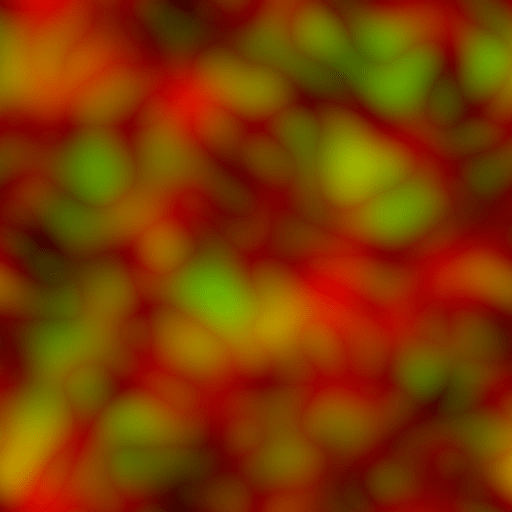
I needed to create a material in order for the muzzle flash to show correctly in the Niagara System. I needed to include the Muzzle Flash and Fire Distortion textures to combine them. By adding the nodes below, to show the colour and opacity of the textures.
Blood Splatter
Since there are characters being shot in my sequence, I felt it was necessary to have a blood splatter effect. This showed when a character had died, and I had made the effect subtle enough to look realistic. However, if the effect was excessive, it would not have looked realistic and have felt out of place.
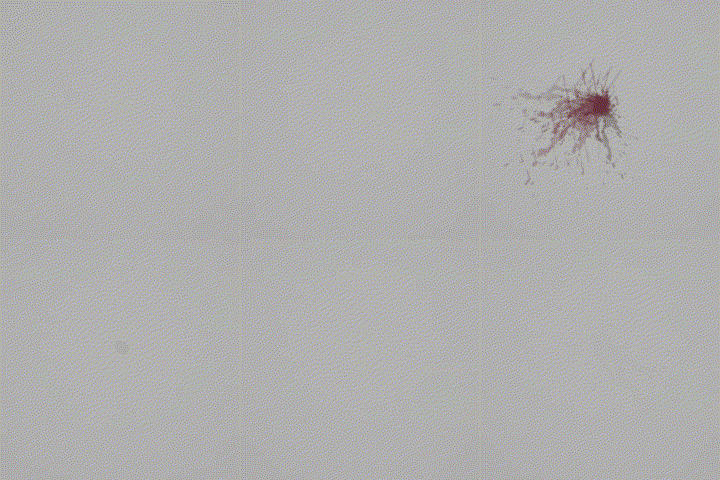
The emitter for this effect randomises how large each particle is, and their location where they spawn. I chose to randomise the particles, to make the effect more realistic. Instead of having the particles spawn at the same place.
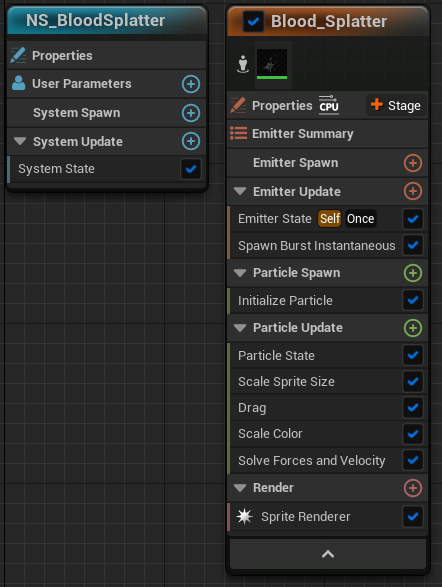
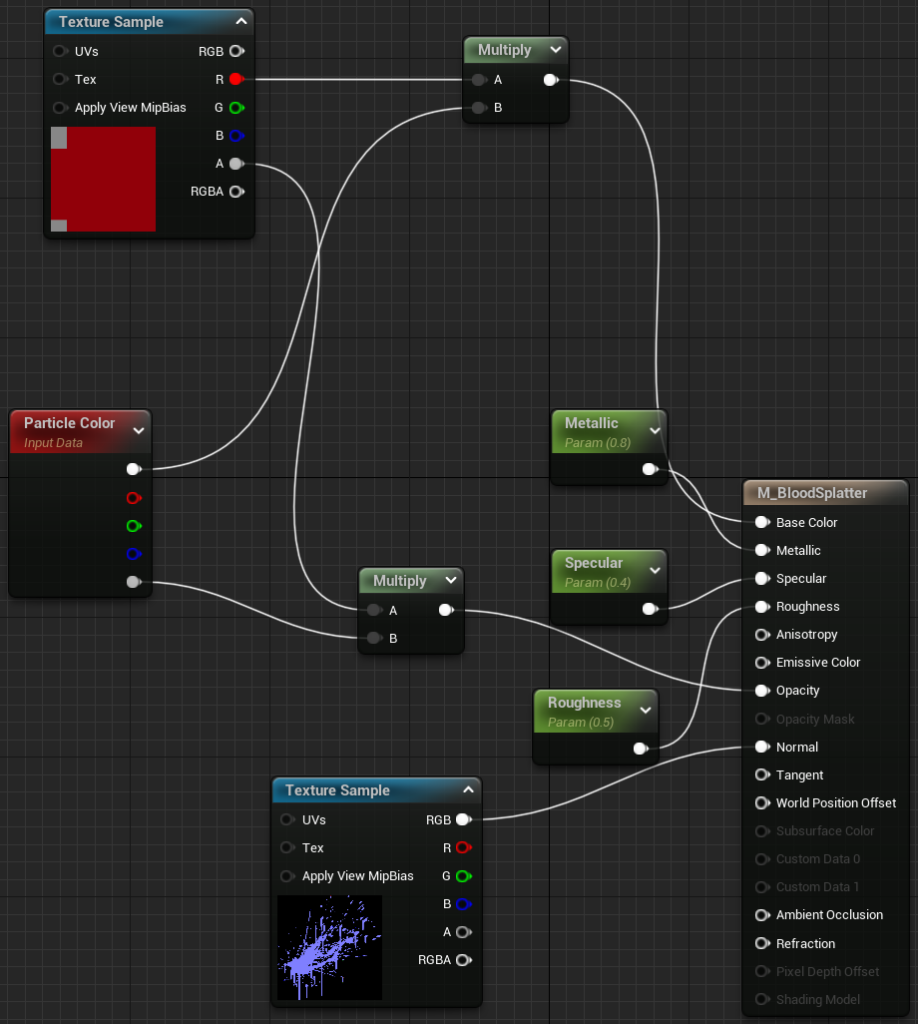
With this effect I also needed to create a material. Combining the texture sample of the blood and the normal map to correctly show the particles in Niagara. I needed to create the normal map for the texture, as there was no normal map available. Additionally, I could change the properties of the material. By adding metallic, specular and roughness nodes.

Car Explosion
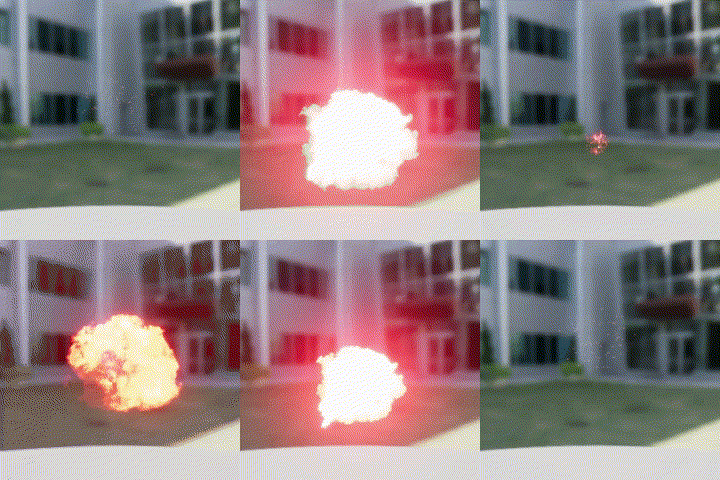
I wanted to create a large explosion, to allow an opportunity for the camera to shake. This effect also gives the illusion that the explosion is so fierce it flips the car in the scene.
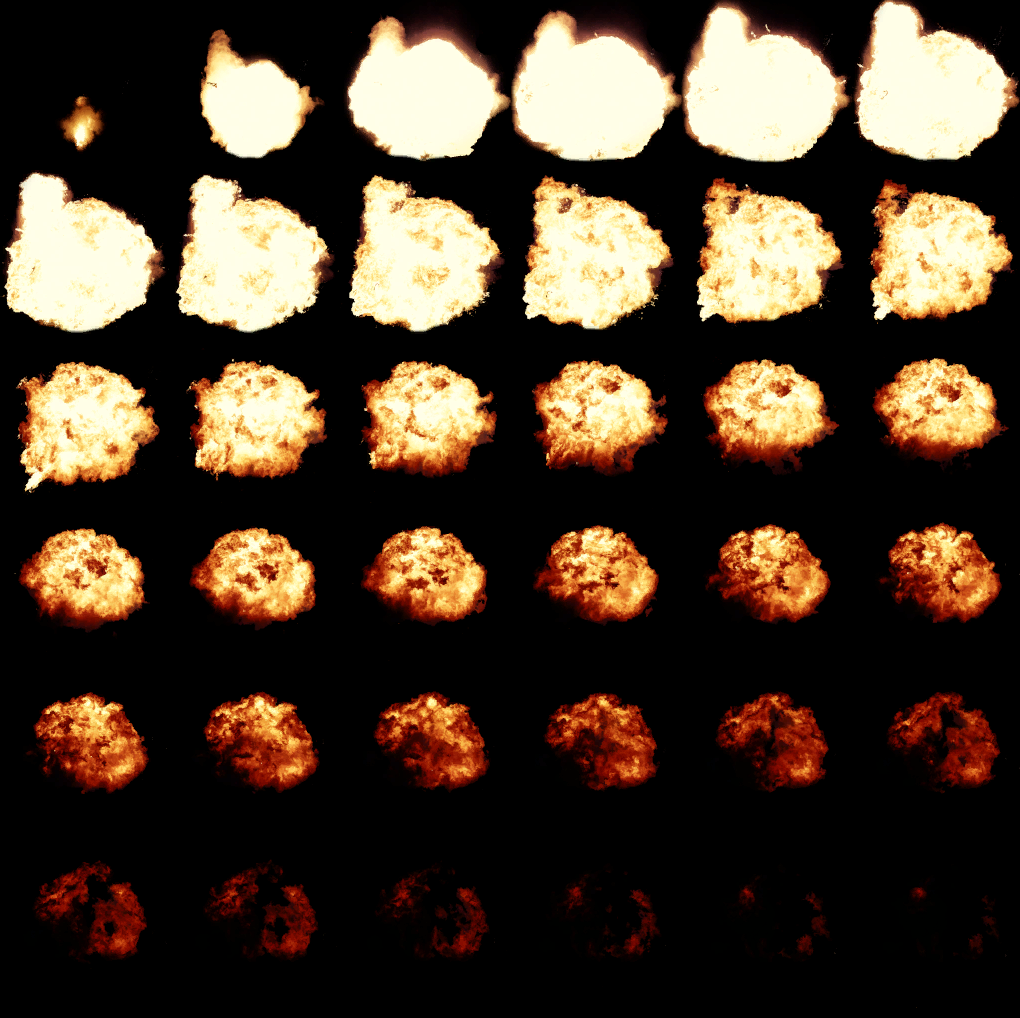
This effect required a main fireball, and a subtle effect of the sparks of the explosion. The fireball needed to have the scale sprite size module since the explosion grows larger over time, and decreases size near the end.
For the shrapnel, these particles needed velocity in order to give them movement during the explosion. As I wanted them to be moving slowly after the fireball had disappeared.
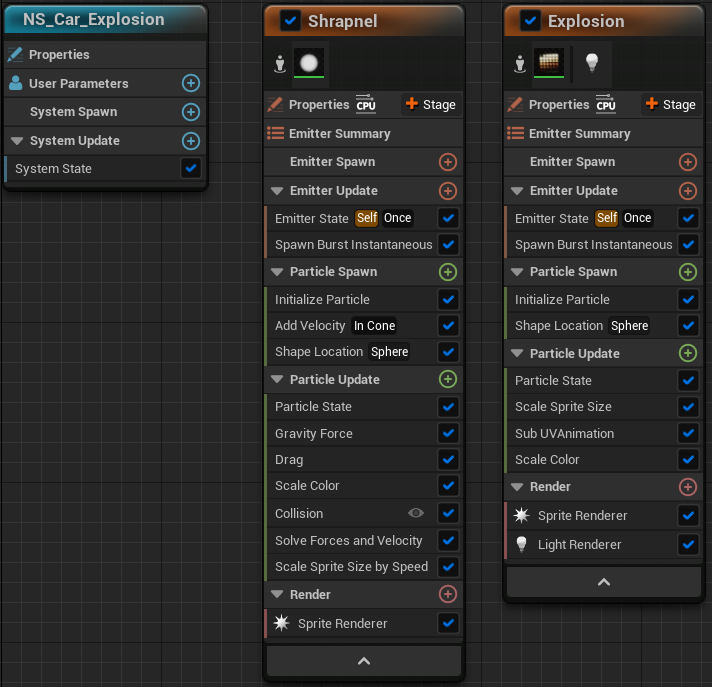
The materials I used for the shrapnel emitter was the DefaultSpriteMaterial provided by the Unreal Engine Starter Content.
Grenade Explosion
I had researched what an actual grenade explosion looked like. However, in real life there was no fire. I decided to include fire in this explosion, in order to avoid confusion. Since it may be seen as a smoke grenade.
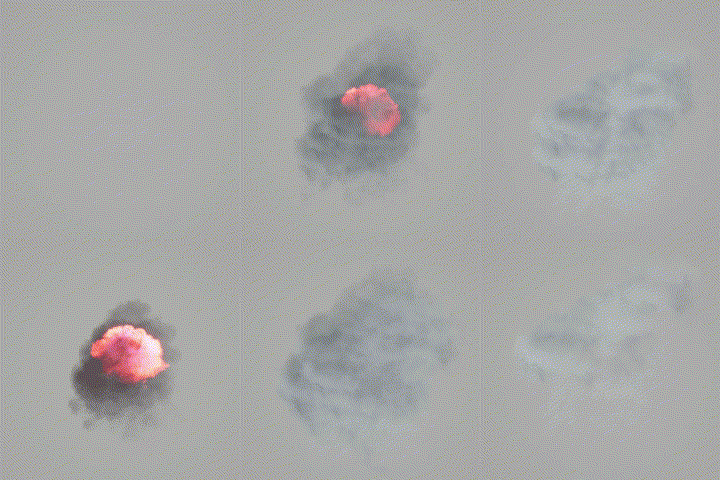
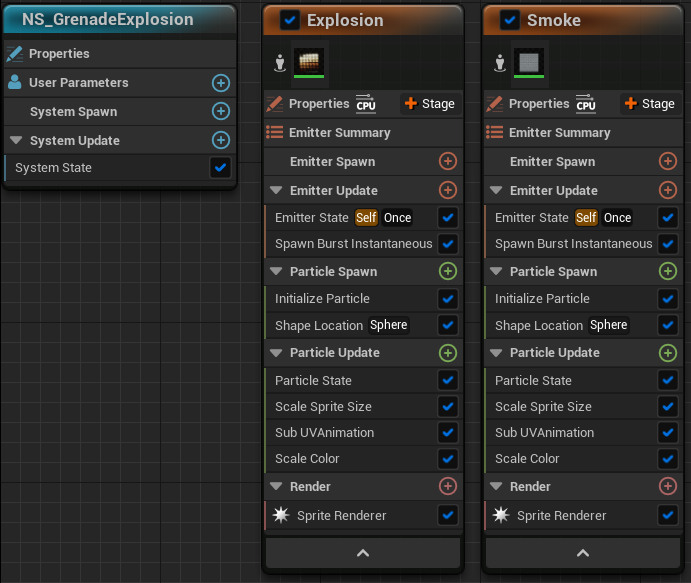
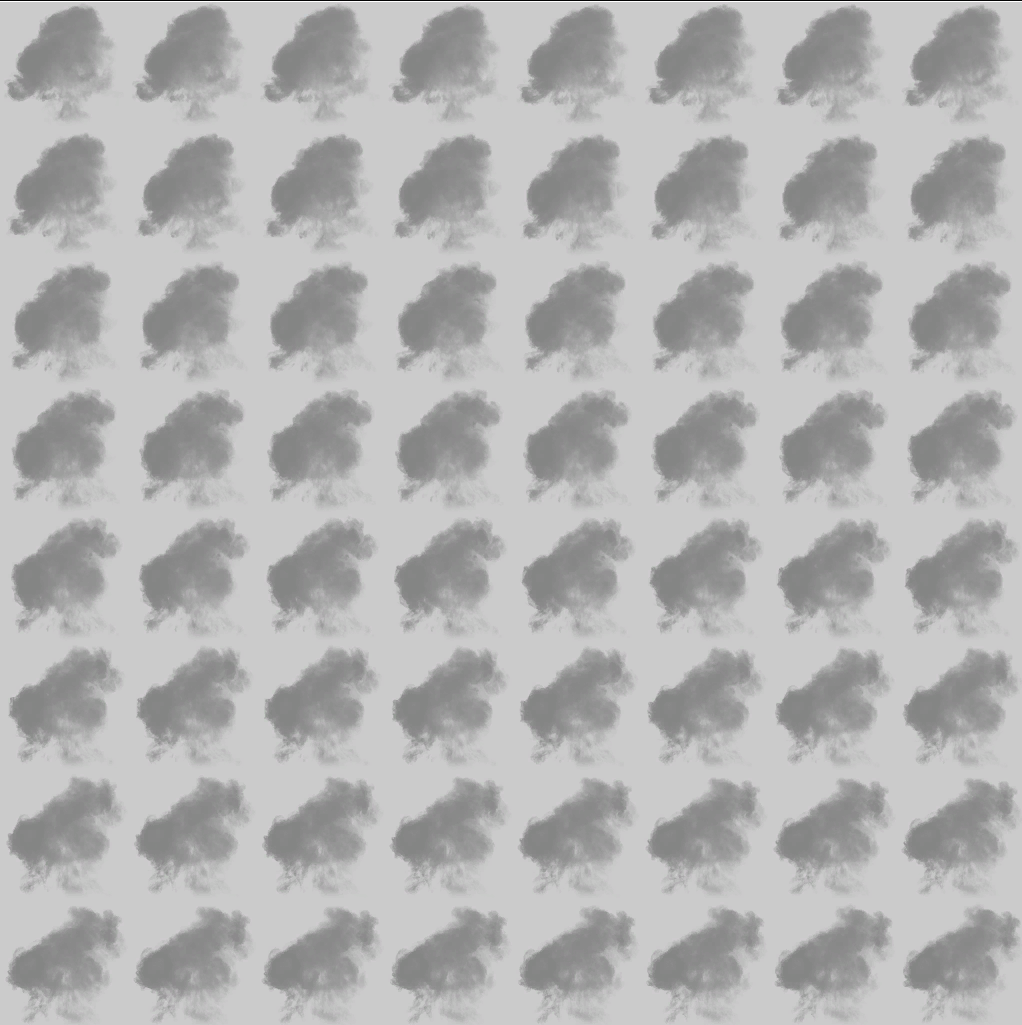
This effect needed two emitters. However, the fireball is much smaller than the car explosion. Furthermore, I created the smoke emitter with similar modules to the fireball of the grenade. As this was taken from my research of the real life example. As the smoke continues to float a few seconds after the explosion.

Smoke
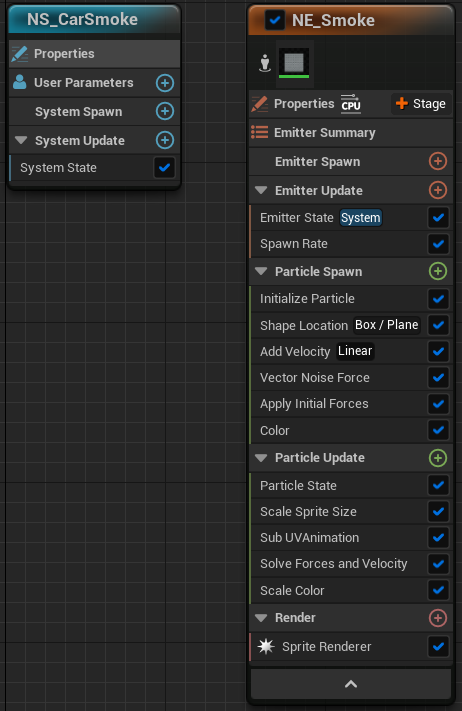
This smoke effect is used after the car explosion. It gives the illusion that the car is smoking from the explosion. I also chose to give the smoke a dark black colour, as this is the colour in which real life smoke would emit from a burning car.
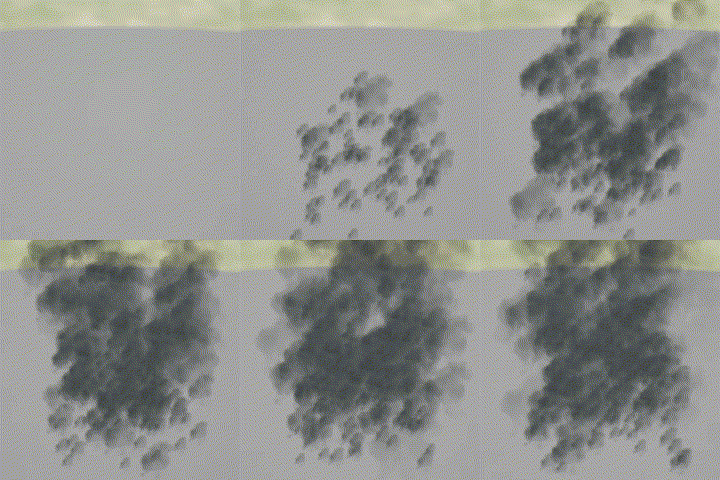
This effect was quite simple. I needed to include a velocity module, which gave the smoke a slow rise. Whilst also increasing the sprite size over time, and the random lifetime of each sprite.

Car Tyre Smoke
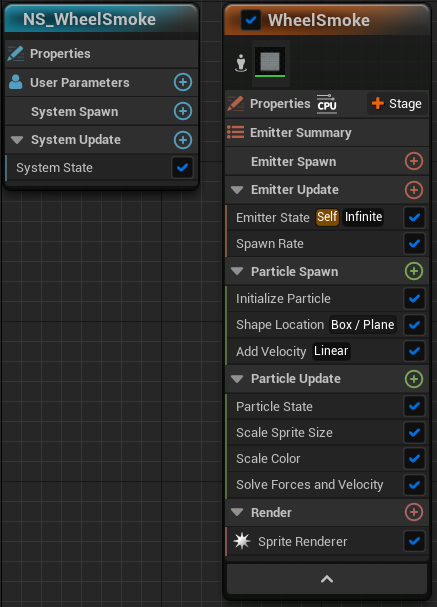
This effect gives the illusion of the car tyres friction against the road. I chose to make this effect quite short, as the cars would be breaking a short distance. Additionally, the colour of the smoke I made white, to contrast against the road, and to be easily seen.
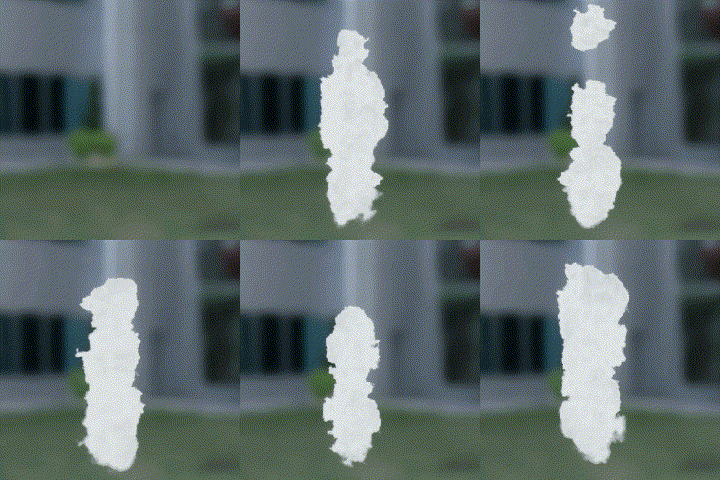
This emitter relied on the spawn rate, velocity and scale sprite size modules. I believe these were the most important ones, as they controlled the majority of the effects. I chose to have a high velocity, as the tyres of the cars would be breaking intensely. As well as the distance the particles travel, I chose this distance because the smoke from the tyres would only last a few seconds.

References
Ahkâm (n.d.) Blood Spatter Clipart PNG Transparent Background [Image]. Available online: https://www.freeiconspng.com/img/44466 [Accessed 16/12/2022].
Rimaye [ Assets and Tutorials – NIAGARA ] (2021) Niagara : Create a Muzzle Flash Effect / Projectile Shooting – Unreal Engine tutorial [UE4 VFX] [Video]. Available online: https://www.youtube.com/watch?v=MTIt0t1B6lo&t=1118s&ab_channel=Rimaye%5BAssetsandTutorials-NIAGARA%5D [Accessed 16/12/2022].
Unreal Engine (2022) T_Explosion_SubUV [Image].
Unreal Engine (2022) T_Smoke_SubUV [Image].
Leave a Reply